The under-sink area in your kitchen is often overlooked, yet it holds incredible potential for organization and efficiency. By transforming this space into a well-organized zone, you can save time, reduce clutter, and make your cleaning supplies more accessible. Here’s a step-by-step guide to help you organize your under-sink zone effectively.
1. Clear Out the Space
Start by emptying everything from under the sink. This gives you a fresh canvas to work with and allows you to assess what you have. Check for expired products, empty containers, or items you no longer use, and dispose of them accordingly.
2. Categorize Your Items
Once the area is cleared, categorize the items you’ve removed. Common categories include:
- Cleaning Supplies: All-purpose cleaners, disinfectants, sponges, and scrub brushes.
- Trash and Recycling: Bags, bins, and compost supplies.
- Miscellaneous: Tools, batteries, or other kitchen gadgets.
Organizing by category helps you see what you have and decide how to store it.
- All products17 products
- LAMU17 products
- Lazy Susan6 products
- Organize Where15 products
- Organize What15 products
- Toiletries4 products
- Accessories4 products
- Bottles & Cans4 products
- Cleaning Agents4 products
- Seasonings & Sauces6 products
- LAMU17 products
3. Choose the Right Storage Solutions
Invest in effective storage solutions to maximize your under-sink space. Here are some options:
- Stackable Bins: Use stackable bins or bins with lids to create a layered approach. This allows you to utilize vertical space effectively.
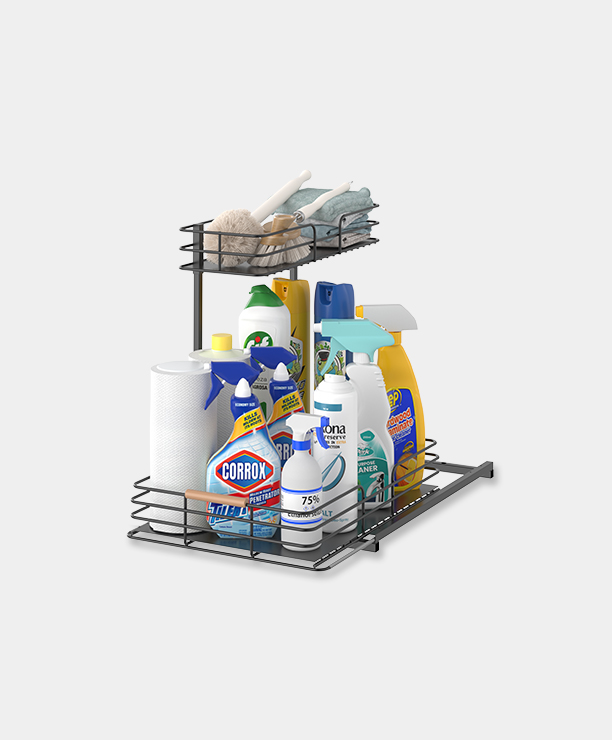
- Drawer Organizers: If your cabinet is deeper, consider installing pull-out drawers or organizers to keep items easily accessible. They allow you to easily reach items in the back and are a great way to keep everything neatly stored and visible.
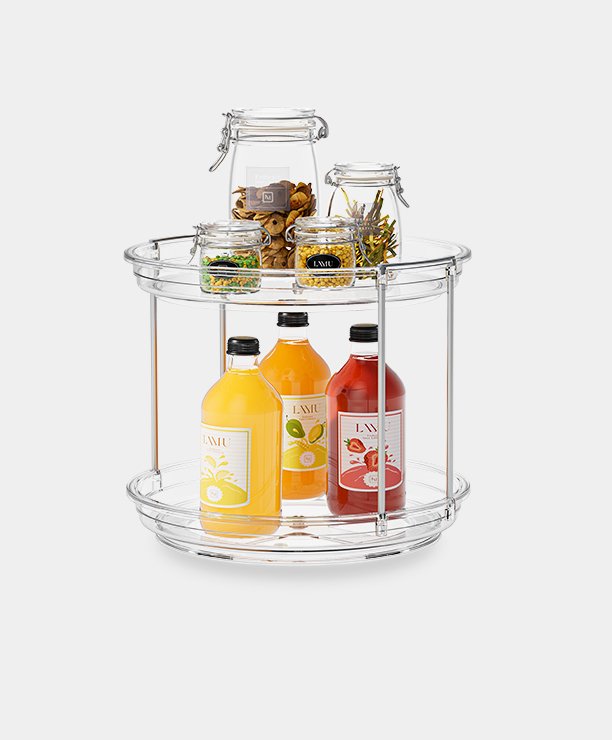
- Lazy Susans: A lazy Susan can help you reach items in the back without digging through everything in front.
- Vintage Iron Pull-Out Organizer: This innovative organizer features adjustable shelves and a pull-out design, making it easy to access your cleaning supplies without hassle.
-
 Iron Pull-Out Organizer$44.99
 -
 Vintage Iron Pull-Out OrganizerPrice range: $33.99 through $54.99
 -
 Turntable Rotating OrganizerPrice range: $17.99 through $29.99
4. Implement a Cleaning Supply Strategy
Group similar cleaning products together for easy access. Consider storing frequently used items at the front and less frequently used items toward the back. Keep a small caddy for essentials that you can easily pull out when needed.
5. Utilize Door Space
Don’t forget about the inside of the cabinet door! Use adhesive hooks or a small rack to hang items like gloves or spray bottles. This keeps them off the shelves and adds extra storage without taking up space.
6. Label Everything
Label your bins and containers to make finding items quicker. Clear labels help everyone in the household know where to find and return items, maintaining organization over time.
7. Create a Maintenance Plan
To keep your under-sink zone organized, set a reminder to review the space every few months. Reassess what you have, check for expired items, and adjust your storage solutions as needed.
8. Make It Aesthetically Pleasing
While functionality is key, consider adding a touch of style. Use matching bins and containers, or even add a small air freshener to keep the space smelling fresh. A well-organized area is not only practical but can also be visually appealing.

Organizing your kitchen under-sink zone into an effective space doesn’t have to be a daunting task. By following these steps, you can create a clutter-free area that makes cleaning and maintaining your kitchen easier. A well-organized under-sink zone is just one step toward a more functional kitchen—let the organizing journey begin!


Leave a comment